Migrating Passkeys to PingOne Advanced Identity Cloud
A step-by-step guide for migrating Passkeys to PingOne Advanced Identity Cloud
November 17, 2025 · 7 min · 1375 words · Kevin Schneider
Table of Contents
This guide provides a detailed, step-by-step process for achieving a zero-impact migration of passkeys and other WebAuthn devices from an on-prem installation to Ping One Advanced Identity Cloud (AIC).
The success of a migration from self-deployed Ping Advanced (formerly ForgeRock) Software to PingOne Advanced Identity Cloud hinges on users’ seamless ability to authenticate with the new system. A seamless migration must account not only for usernames and passwords, but also for MFA and passwordless authentication methods.
Ping Advanced Software stores the MFA and passwordless authentication information as device profiles. Luckily, the migration path for device profiles is straightforward. Passkeys, or more generally WebAuthn, possess a few properties that you need to consider when migrating to a new platform.
Passkeys are user-friendly, passwordless credentials based on the FIDO2 standards suite (CTAP + WebAuthn) defined by the FIDO Alliance. They’re natively supported across major browsers and operating systems, including iOS, Android, macOS, Windows, and ChromeOS, with sync provided by platform credential managers.
WebAuthn is the W3C web API within FIDO2 that enables browsers and applications to register and authenticate users with public-key credentials.
WebAuthn provides passwordless and phishing-resistant MFA using asymmetric cryptography: the authenticator stores a private key on the user’s device, while the server stores the corresponding public key.
PingAM and PingOne AIC store WebAuthn-compatible credential metadata in the webauthnDeviceProfiles attribute.
WebAuthn and Relying Party IDs: Phishing-Proof by Design#
Registration: When a user enrols a new device on idp.company.com, their browser and authenticator generate a new, unique public/private key pair. This key pair is cryptographically bound to the website’s origin, which is recorded as the Relying Party ID (RP ID), idp.company.com in this example.
The RP ID can be manually set during registration. For example, in PingAMs WebAuthn Registration node, you can set the RP ID in the Relying party identifier field.
Authentication: When the user later logs in at idp.company.com, the server sends a unique challenge to the browser. The browser requests a signature for this challenge from the authenticator.
Relying Party validation The browser and authenticator will only use the key if the stored RP ID perfectly matches the domain the user is currently visiting (auth.company.com).
Subdomains: The exception to the matching rules is subdomains of the RP ID. A user can, for example, log in to idp.auth.company.com if the RP ID is auth.company.com.
The origin check is the feature that makes WebAuthn phishing-resistant. If a user inadvertently visits a phishing site (e.g., idp.auth.company-support.com), the browser detects a domain mismatch. It will not find a matching credential for this new domain and will refuse to send the authentication signature. The attack fails.
Domain Matching Examples:
Legacy Domain:auth.company.com
New AIC Domain:idp.auth.company.com -> Supported. (The new domain is the registrable domain, or super-domain, of the original RP ID).
New AIC Domain:auth.company.com -> Supported. (The domains are identical).
New AIC Domain:newidp.company.com -> Not Supported. (This constitutes a different origin, which will invalidate all existing WebAuthn credentials).
WebAuthn’s security model means that your new PingOne AIC environment’s domain must match the on-prem domain. If AIC uses a different domain (e.g., newidp.company.com), Webauthn treats it as a different website from your on-prem auth.company.com and refuses to authenticate with the existing credentials.
Whether to use the same domain or a subdomain has implications for switchover sequencing and rollback planning. You need to take these implications into account in the broader planning of the migration.
Step 1: Preparation of the PingOne AIC Environment#
Before we start setting up a connector, let’s double check if the WebAuthn profiles are available in IDM. To do that, within PingOne AIC’s Admin Console, open the IDM admin console by going to Native Consoles > Identity Management. Then go to Configure > Managed Objects and select either the alpha_user or bravo_user managed object, depending on the target population.
Confirm that the webauthnDeviceProfiles attribute is present
Device profiles are present in the alpha_user managed object
If the attribute is absent, it can be added via the feature API by sending a POST to /openidm/feature/am/2fa/profiles?_action=install. More information can be found in the feature enablement documentation.
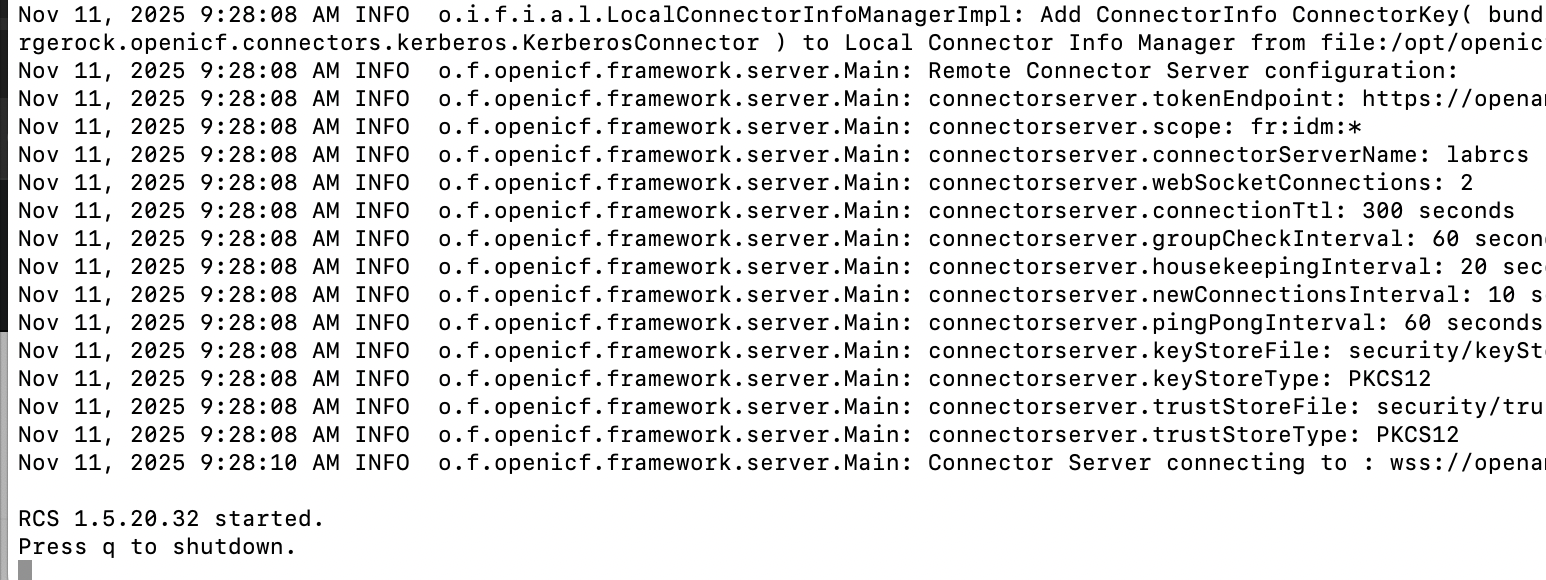
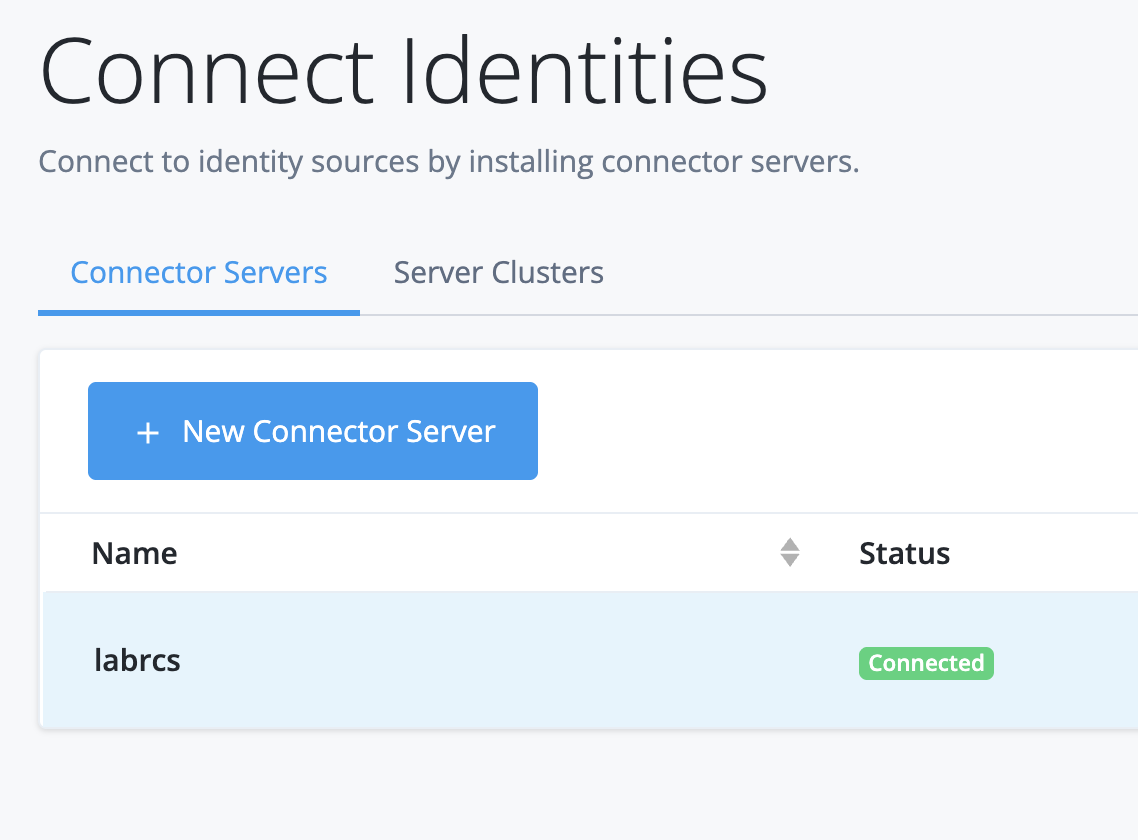
The LDAP Connector is not running directly in AIC but in the on-prem environment on a Remote Connector Server (RCS). RCS needs to be installed on a machine with network access to the LDAPS port of the User Data Store. RCS doesn’t need any incoming connection from AIC; instead, it will open an outgoing Secure Websocket connection through which it communicates with AIC.
architecture-beta
    group aic(freehand:cloud-network-1)[P1 AIC]
    group onprem(freehand:cloud-network-1)[OnPremises]

    service ldap(freehand:database)[LDAP] in onprem
    service rcs(freehand:server-2)[RCS] in onprem
    service IDM(freehand:server-2)[IDM] in aic


    rcs:L --> R:ldap
    rcs:R --> L:IDM
Before starting RCS, you must import the LDAP server’s CA certificate into RCS’s truststore to enable AIC to connect via LDAPS. RCS by default uses a JKS keystore located at /path/to/rcs/security/truststore.
The following command exports the PingDS root certificate as ds-ca-cert.pem.
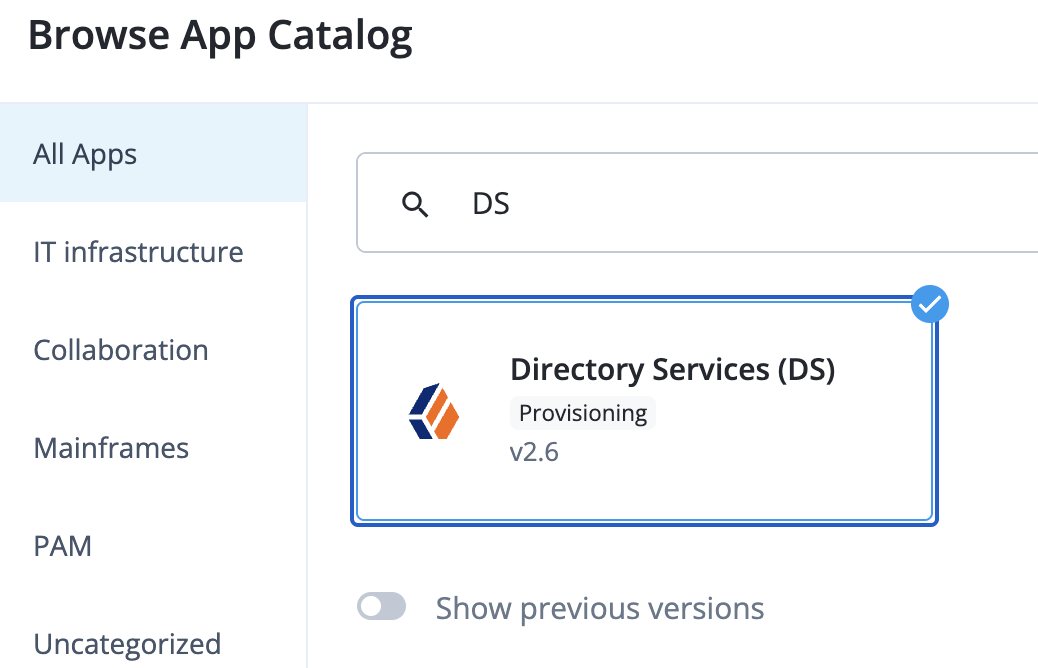
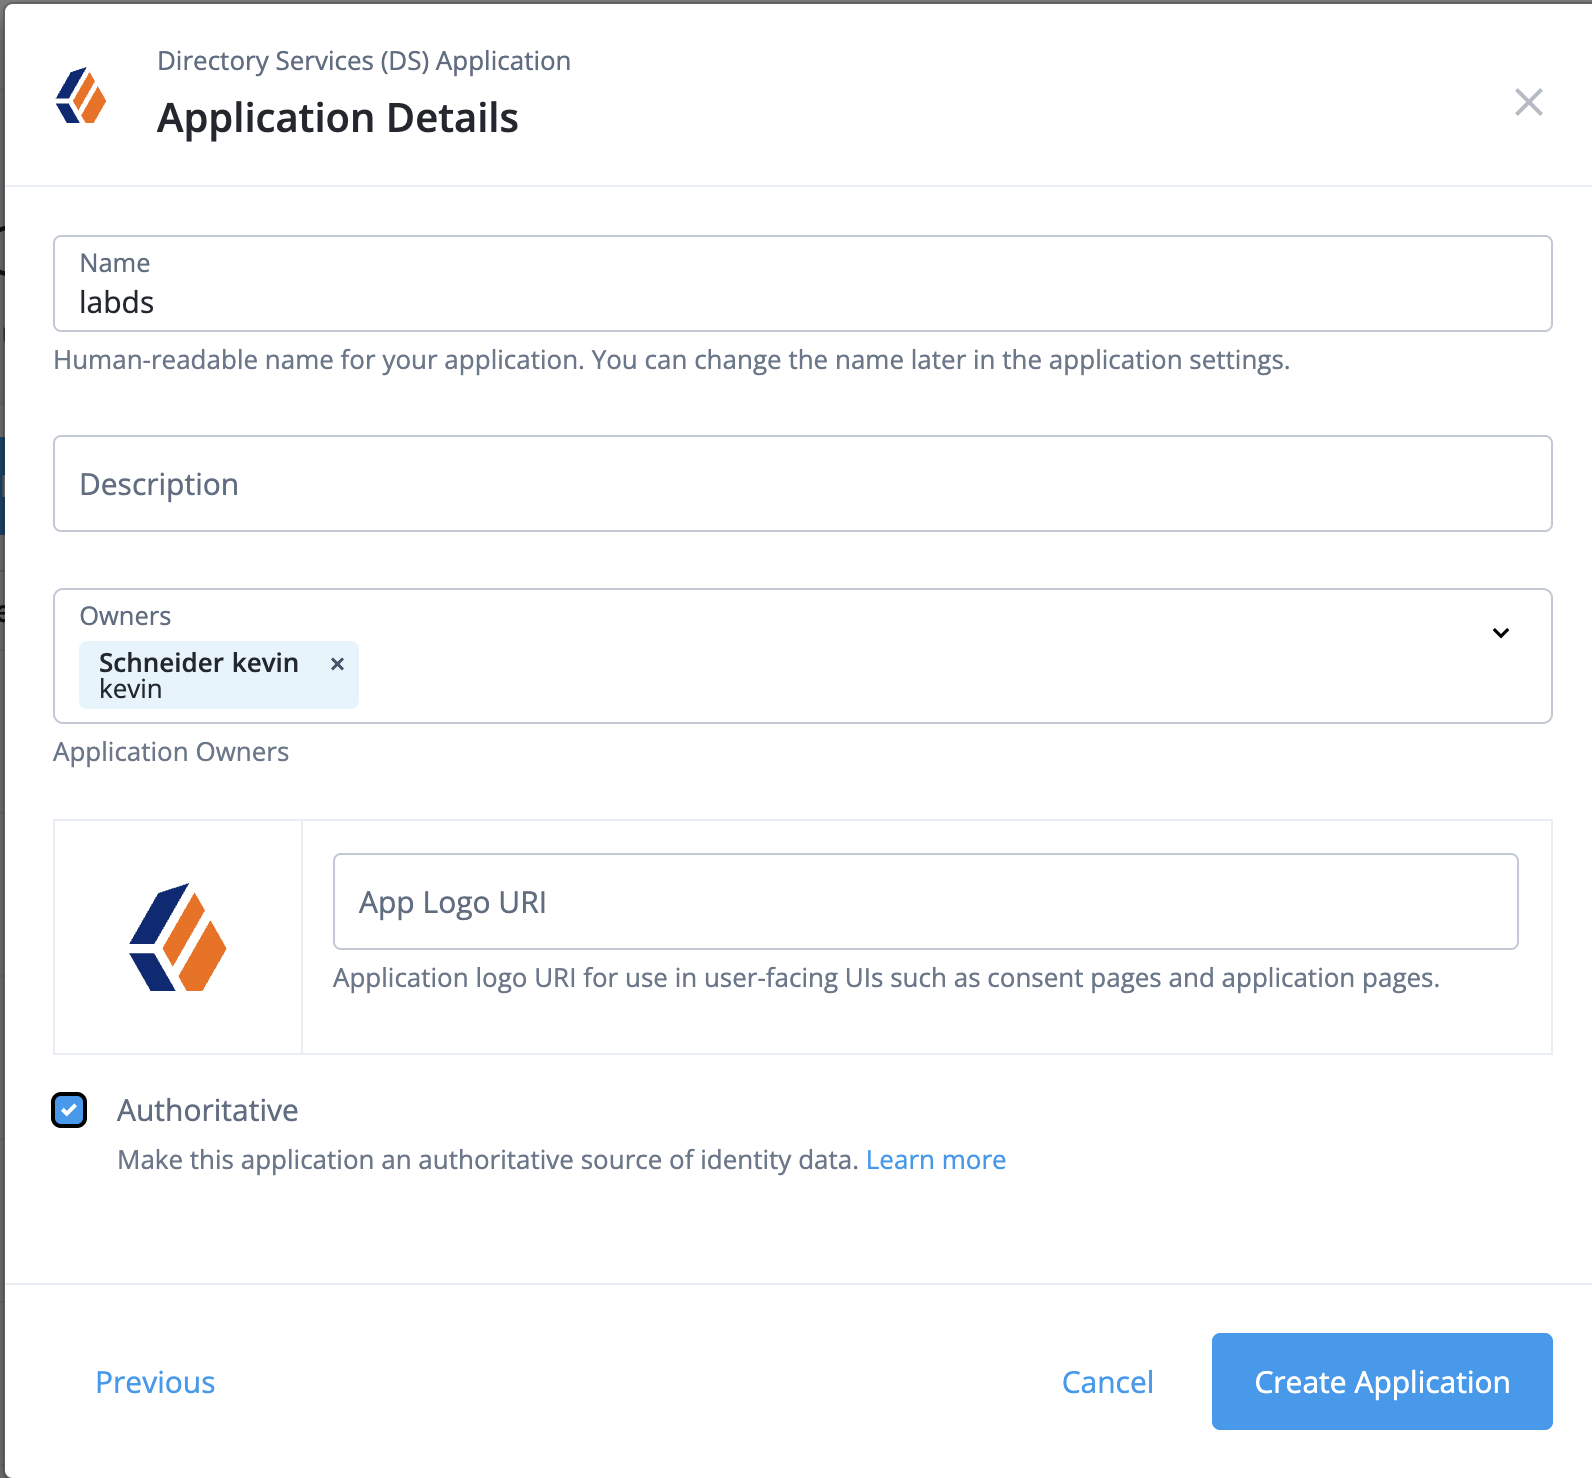
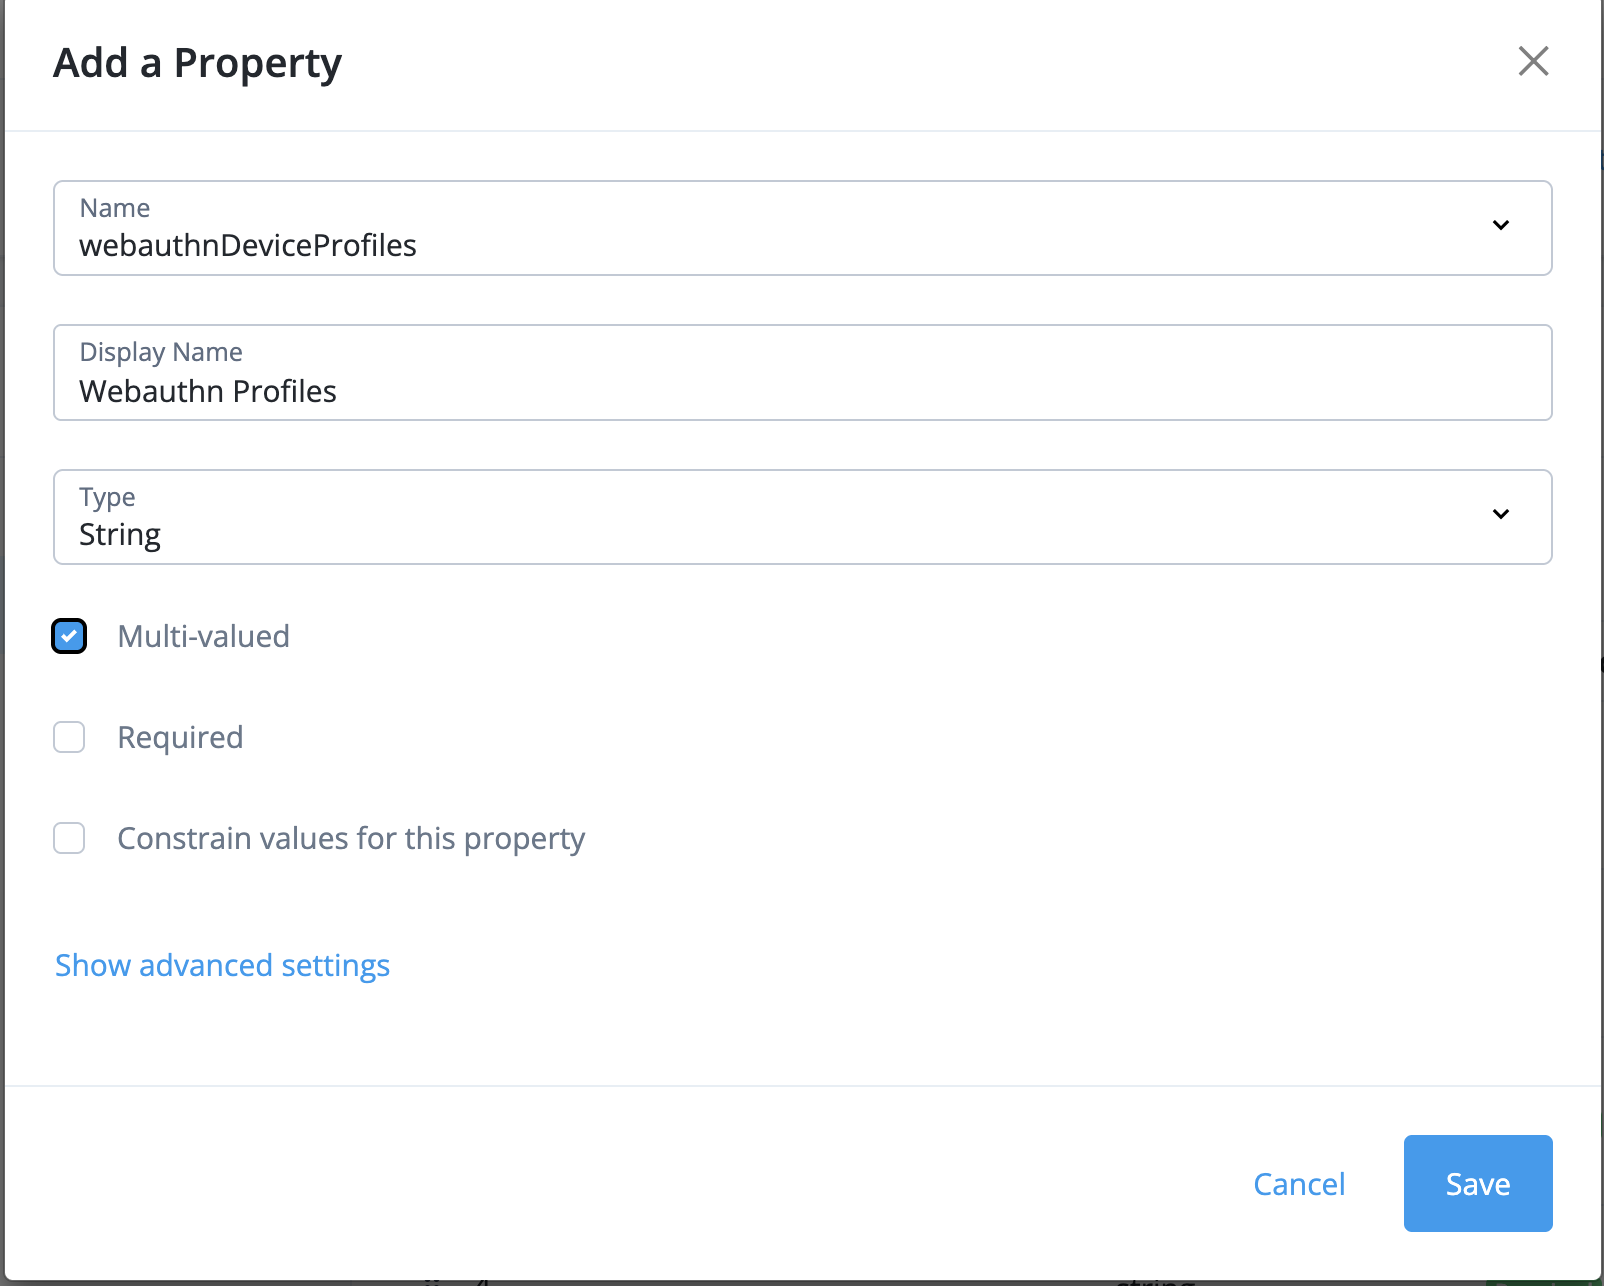
By default, the app template doesn’t include the WebAuthn profiles. You need to add them by going to properties and clicking on Add a Property.
Enter webauthnDeviceProfiles as the Name, provide a Display Name, set the Type as String and select the Multi-valued checkmark, then click Save.
Add webauthnDeviceProfiles property
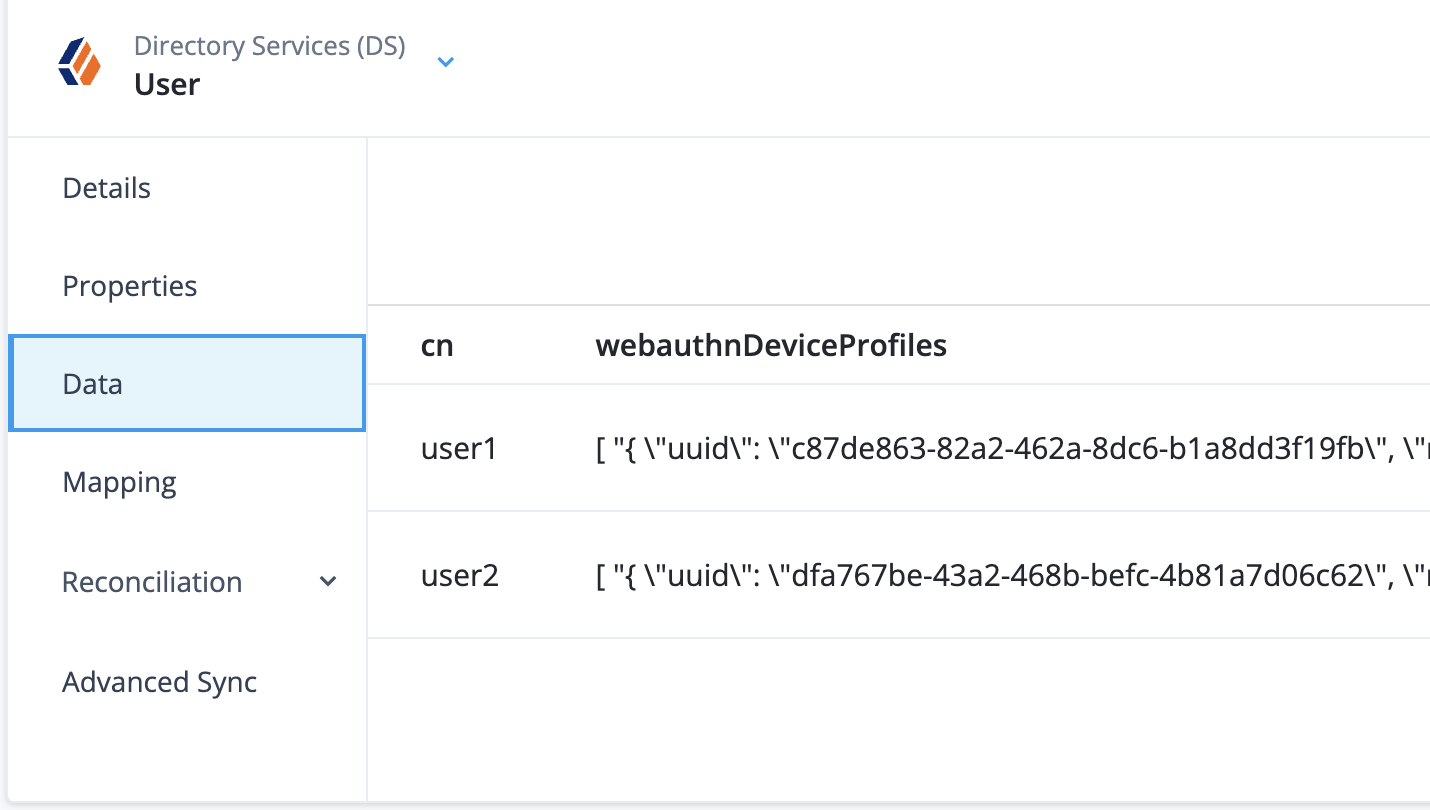
Check the Data tab to verify that WebAuthn profiles are visible and confirm all the necessary data is available.
WebAuthn profiles in IDM
Step 3: Configure Synchronization and Attribute Mapping#
Now the data is available, you can configure a mapping to import the users.
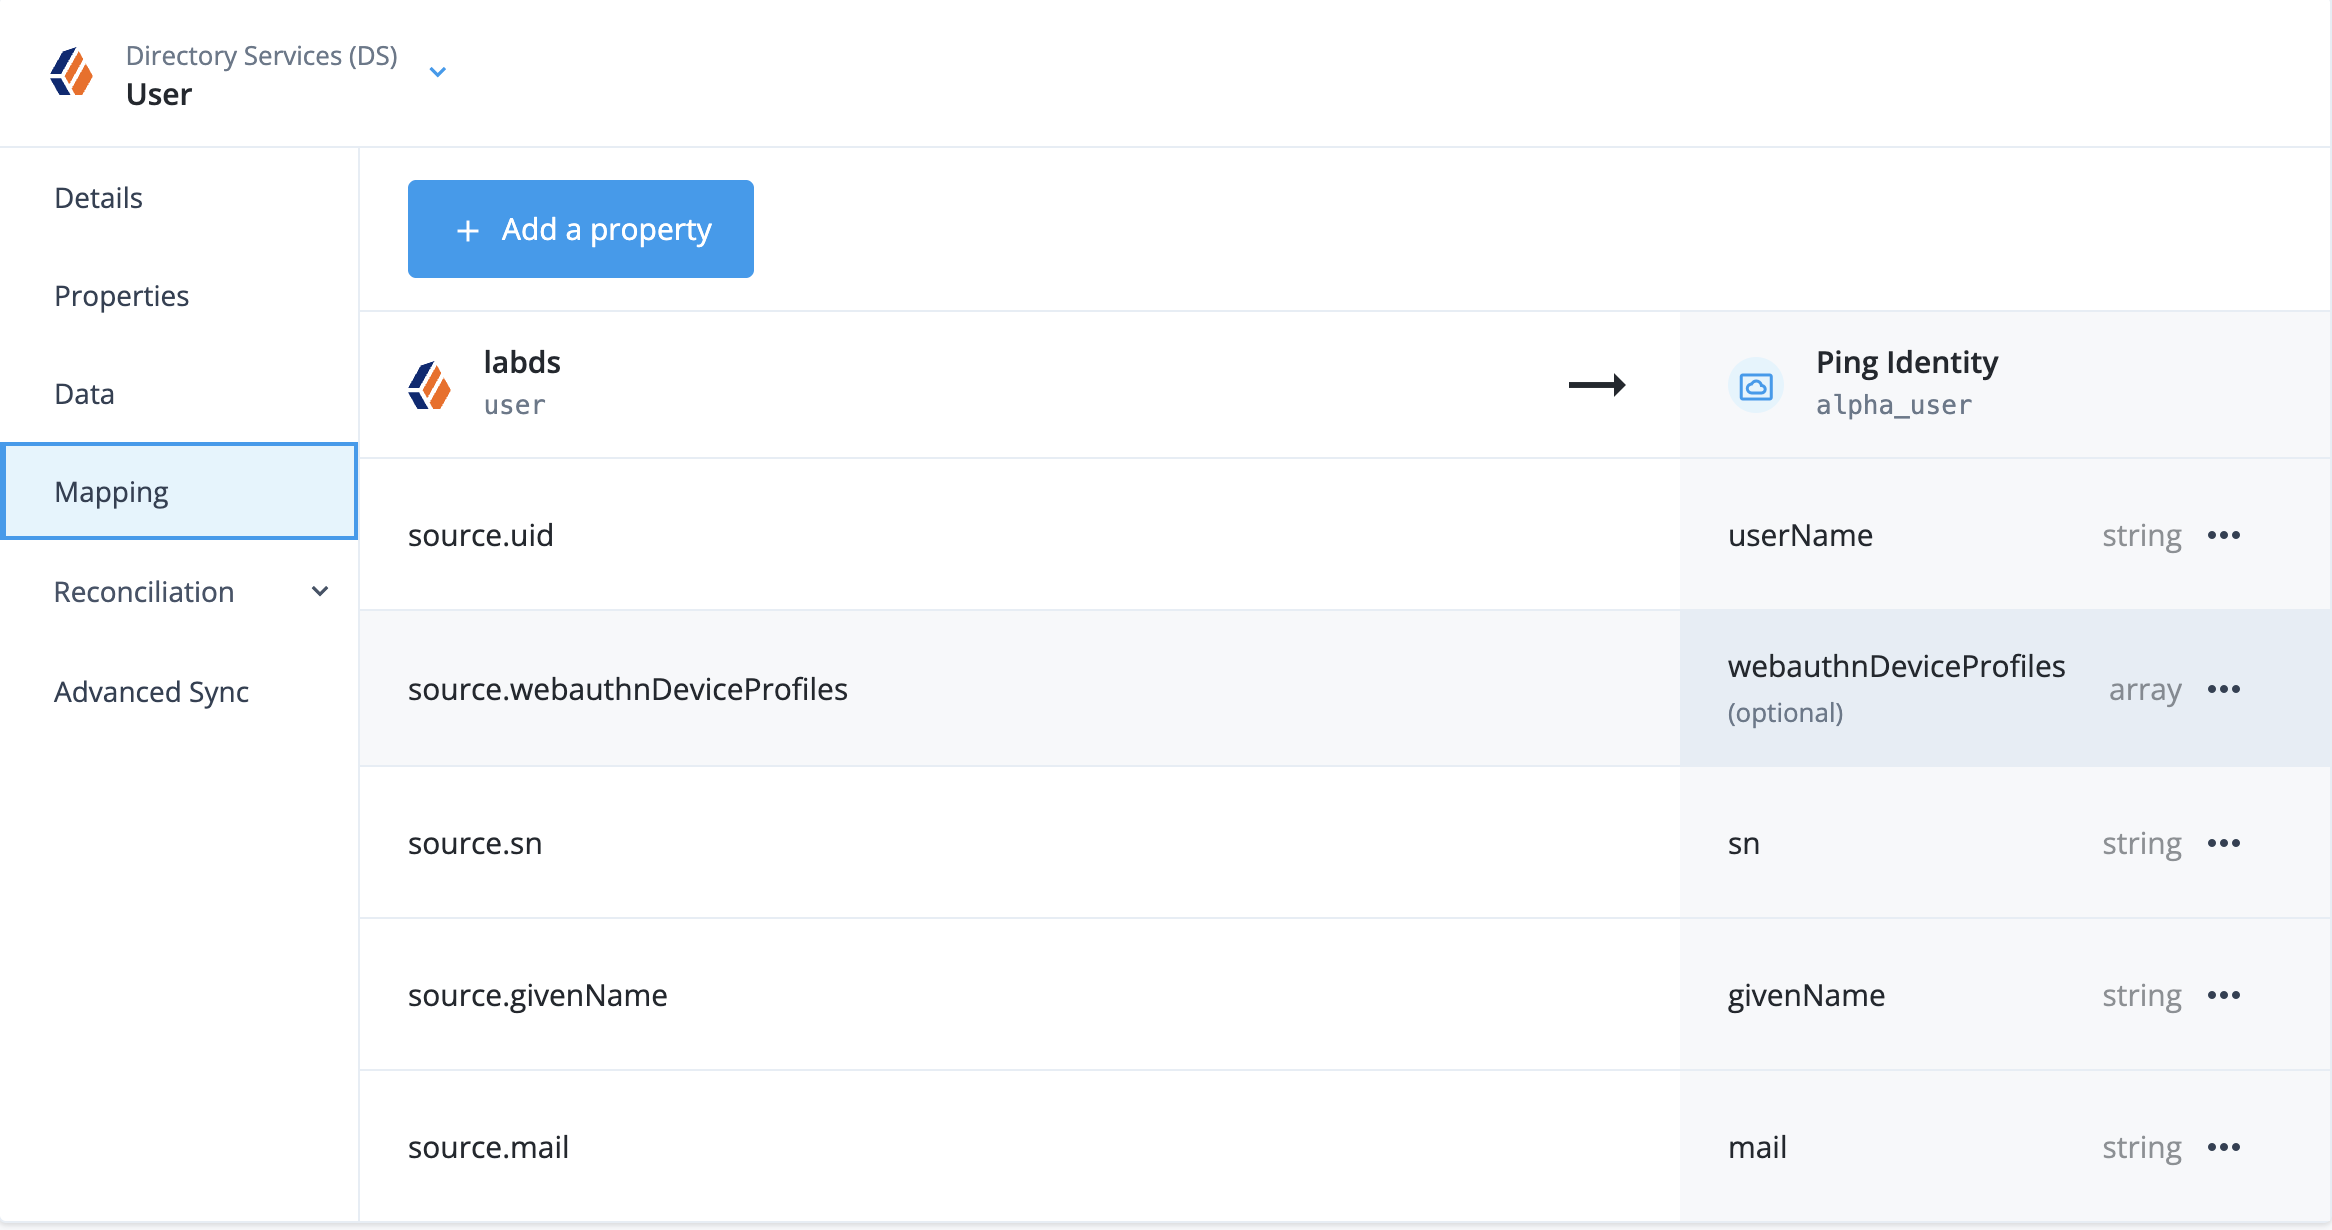
In the mapping tab, add mappings for at least the following alpha_user attributes. Depending on your alpha_user managed object definitions and on your use cases, other attributes may have to be mapped as well. Your mapping may be different, depending on the LDAP schema your LDAP server uses.
userName: the username of the imported user. The default corresponding PingDS attribute is uid.
givenName: the given name, maps to givenName in PingDS.
sn: the surname, maps to sn in PingDS.
– webauthnDeviceProfiles: the WebAuthn profiles, maps to webauthnDeviceProfiles in PingDS.
Mapping on-prem source attributes to AIC target attributes
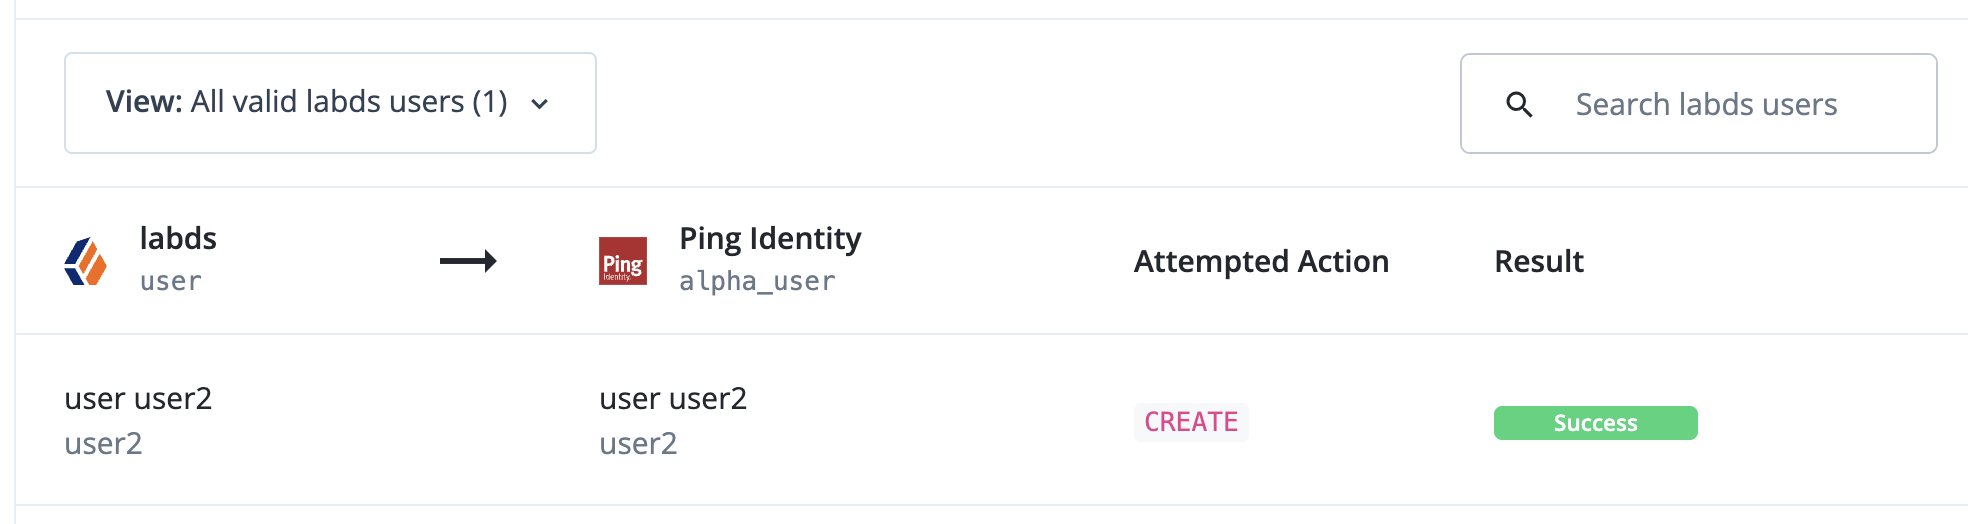
Go to the reconciliation tab and click Reconcile Now. If all goes well, you should see user profiles being created or updated.
The WebAuthn profiles are now migrated to PingOne AIC.
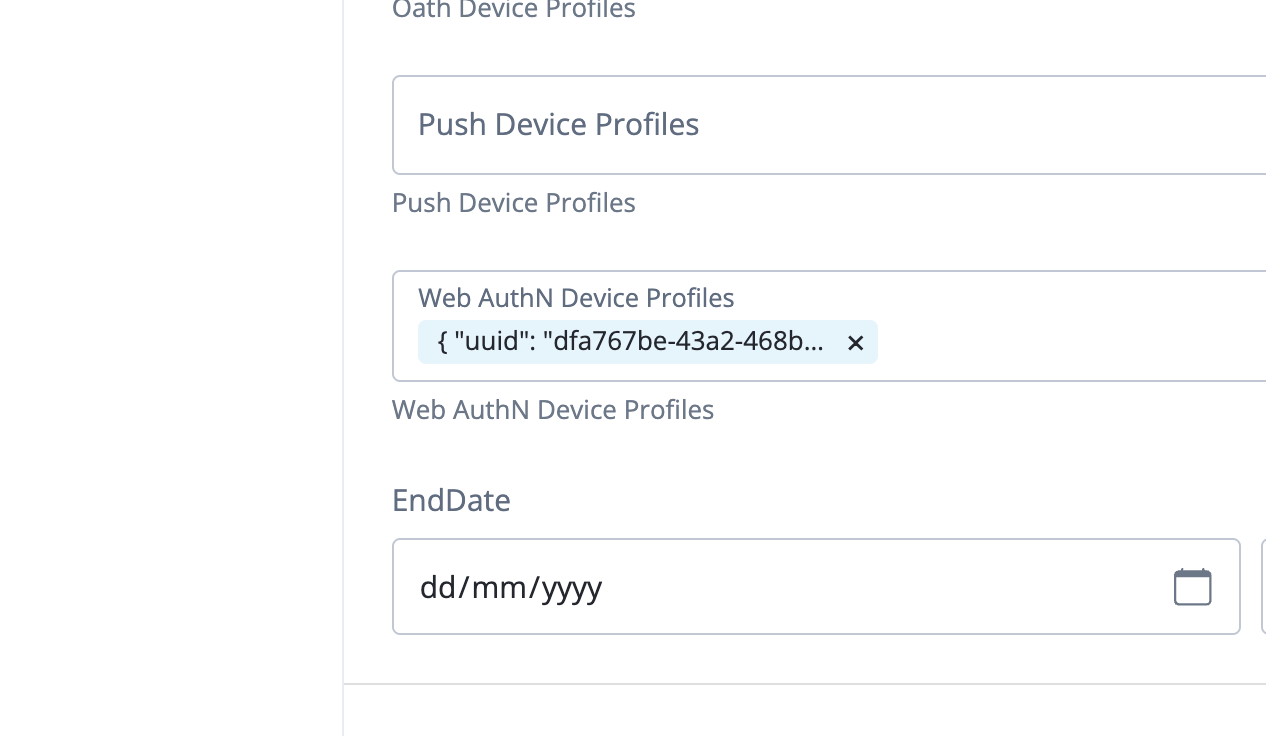
Validate the WebAuthn profiles are present by going to Identities > Manage > alpha_user and search for one of the migrated users. You should see the Web Authn Device Profiles attribute containing the profiles
Web Authn Device Profiles of a migrated user
Finally, use a test account to validate that the authentication is working. This test must be run on a custom domain, as discussed earlier.
A successful login confirms the migration process is functioning as intended.
Conclusion: Achieving a Seamless Identity Cloud Migration#
Migrating WebAuthn profiles to PingOne AIC is straightforward. At a high level, all that is needed is the migration of the webauthnDeviceProfiles attribute to PingOne Advanced Identity Cloud and the setup of a custom domain to match either the original domain or a subdomain thereof.
This procedure effectively removes a significant obstacle to cloud migration, prevents a potential influx of support requests related to authenticator re-enrollment, and maintains the organisation’s security posture from the outset of its deployment in PingOne AIC.